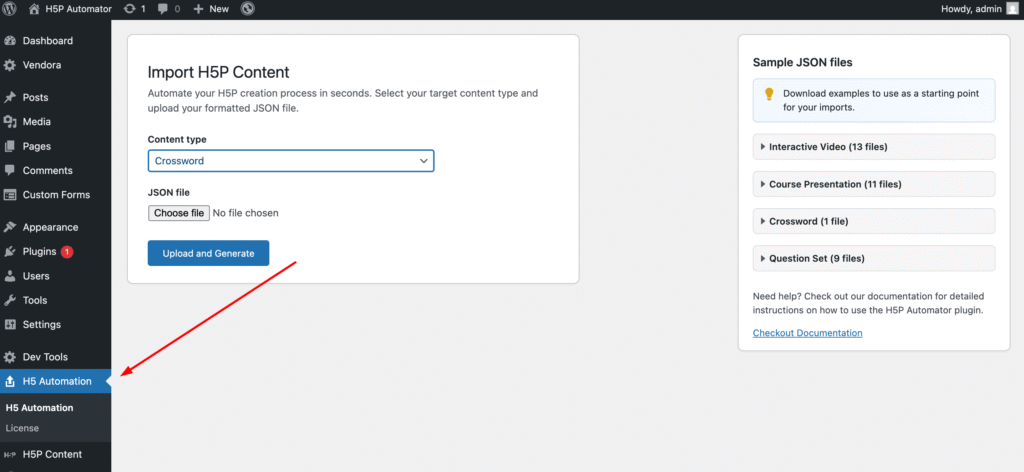
Before you begin, check the Getting Started section if you haven’t already. Let’s see how to bulk import multiple crossword contents in seconds. Check out the H5P Crossword content to know how it works. To automate the content creation, all you need is a JSON file. Download the sample crossword JSON file. Now, go to the WordPress admin side and click on the H5 Automation menu.
Select “Crossword” from the Content Type dropdown, choose the downloaded JSON file, and click the upload and generate button. And you are done with the crossword content creation.
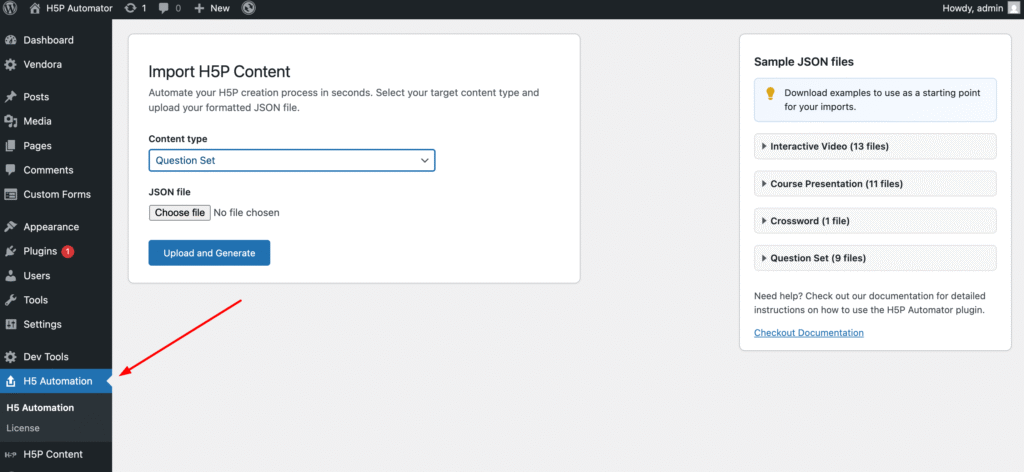
Before you begin, check the Getting Started section if you haven‘t already. Let’s see how to automate multiple interactive video creations in seconds. If you want to know details about how the question set works, refer to this link: H5P Question Set. To automate the content creation, all you need is a JSON file. Download the sample quiz-question-set JSON file. Now, go to the WordPress admin side and click on the H5 Automation menu.
Select “Question Set” from the Content Types dropdown, choose the downloaded JSON file, and click the upload and generate button. And you are done with the quiz question set content creation.
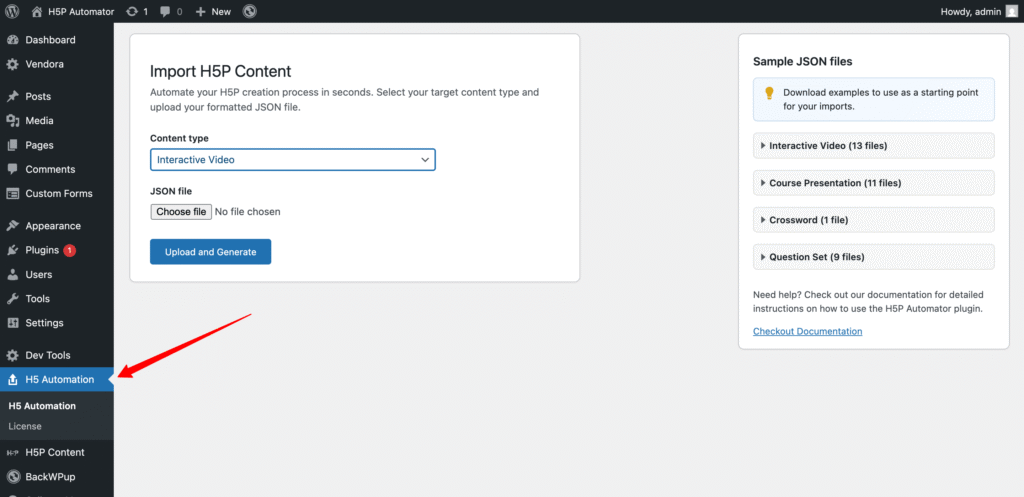
Before you begin, first check the Getting Started section if you didn’t. Let’s see how to automate multiple interactive video creations in seconds. If you want to know details about how H5P Interactive video works, refer to this link. To automate the content creation, all you need is a JSON file. Download the sample interactive-video-content JSON file. Now, go to the WordPress admin side and click on the H5 Automation menu.
Select “Interactive Video” from the Content Types dropdown, choose the downloaded JSON file, and click the upload and generate button. And you are done with the interactive video content creation.
Understand the JSON video. Download the JSON file and open it on a text editor. In the JSON file, there may seem to be a lot of code script, but we only need to know and modify some things. These are:
The JSON structure:
[
  {},
  {}
]
The JSON file started & ended with a square bracket. Inside the square brackets, each curly brace means an interactive video. Here, two pairs of curly braces mean 2 interactive videos. Inside the curly braces, we add the contents.
Inside the {} curly braces, there is an interactiveVideo block with the following structure:
startScreenOptions, you can leave it or modify the title if you want. The important part is “files”, here you need to add the URL of you video. You can add URLs from YouTube/Vimeo. Leave the rest of it.
The “interactives” property contains interactions like single choice, fill in the blank, drag & drop, etc. The “endscreens”, add the time in seconds & label for the endscreen. The time is in seconds. Here 28 means the end screen will appear on the 28th second of this video.
Configure the summary block if you want to change the text. For example: “solvedLabel”: “Progress:”, if you want to change the text ” Progress ” to your progress or something else, you can do it; otherwise, you can leave it. The “overallFeedback” is the feedback system. If you want to provide grading as per the score, then configure it like below. If you want don’t want to add grading, leave it.
Override is to control the H5P behaviour settings. For example, if you want to play the video automatically then set “autoplay”: true.
l10n:
{
            "interaction": "Interaction",
            "play": "Play",
            "pause": "Pause",
            "mute": "Mute, currently unmuted",
            "unmute": "Unmute, currently muted",
            "quality": "Video Quality",
            "captions": "Captions",
            "close": "Close",
            "fullscreen": "Fullscreen",
            "exitFullscreen": "Exit Fullscreen",
            "summary": "Open summary dialog",
            "bookmarks": "Bookmarks",
            "endscreen": "Submit screen",
            "defaultAdaptivitySeekLabel": "Continue",
            "continueWithVideo": "Continue with video",
            "more": "More player options",
            "playbackRate": "Playback Rate",
            "rewind10": "Rewind 10 Seconds",
            "navDisabled": "Navigation is disabled",
            "navForwardDisabled": "Navigating forward is disabled",
            "sndDisabled": "Sound is disabled",
            "requiresCompletionWarning": "You need to answer all the questions correctly before continuing.",
            "back": "Back",
            "hours": "Hours",
            "minutes": "Minutes",
            "seconds": "Seconds",
            "currentTime": "Current time:",
            "totalTime": "Total time:",
            "singleInteractionAnnouncement": "Interaction appeared:",
            "multipleInteractionsAnnouncement": "Multiple interactions appeared.",
            "videoPausedAnnouncement": "Video is paused",
            "content": "Content",
            "answered": "@answered answered",
            "endcardTitle": "@answered Question(s) answered",
            "endcardInformation": "You have answered @answered questions, click below to submit your answers.",
            "endcardInformationOnSubmitButtonDisabled": "You have answered @answered questions.",
            "endcardInformationNoAnswers": "You have not answered any questions.",
            "endcardInformationMustHaveAnswer": "You have to answer at least one question before you can submit your answers.",
            "endcardSubmitButton": "Submit Answers",
            "endcardSubmitMessage": "Your answers have been submitted!",
            "endcardTableRowScore": "Score",
            "endcardQuestion": "Question",
            "endcardAnsweredScore": "answered",
            "endCardTableRowSummaryWithScore": "You got @score out of @total points for the @question that appeared after @minutes minutes and @seconds seconds.",
            "endCardTableRowSummaryWithoutScore": "You have answered the @question that appeared after @minutes minutes and @seconds seconds.",
            "videoProgressBar": "Video progress",
            "howToCreateInteractions": "Play the video to start creating interactions"
        }
This section is to customise the text if you want, but don’t translate the text here otherwise the default translation will not work. For example: “play”: “Play”, if you want to change the text from “Play” to “Play the video” you can do it, otherwise you don’t need to touch this section at all.
Let’s see the detailed process in the following video:
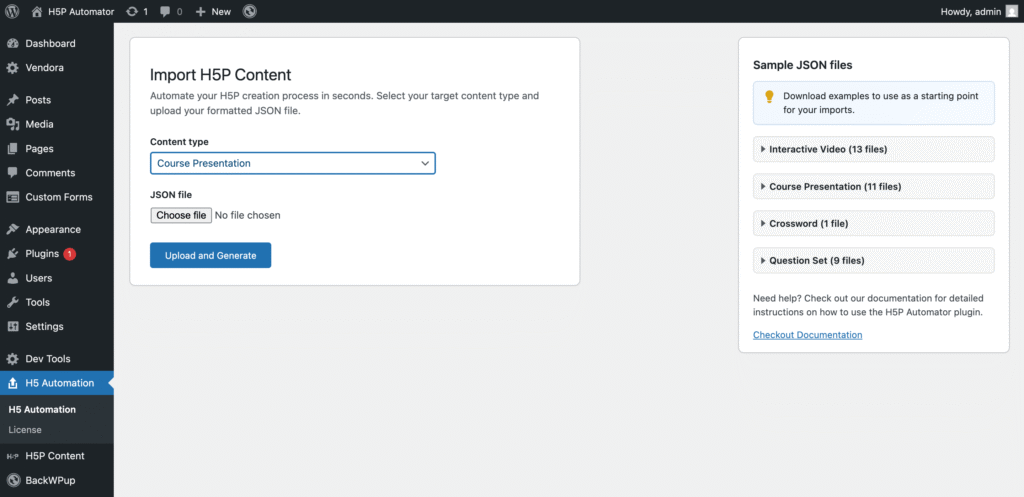
Before you begin, first check the Getting Started section if you did not yet. Let’s see how to automate H5P course presentation content creation. If you want to know details about how the H5P Course Presentation works, refer to this link. To automate or bulk import the content, all you need is a JSON file. Download the sample interactive-course-presentation JSON file. Now, go to the WordPress admin side and click on the H5 Automation menu.
Select “Course Presentation” from the Content Types dropdown, choose the downloaded JSON file, and click the upload and generate button. And you are done with the course presentation content creation.
See the detailed explanation in the following video: